
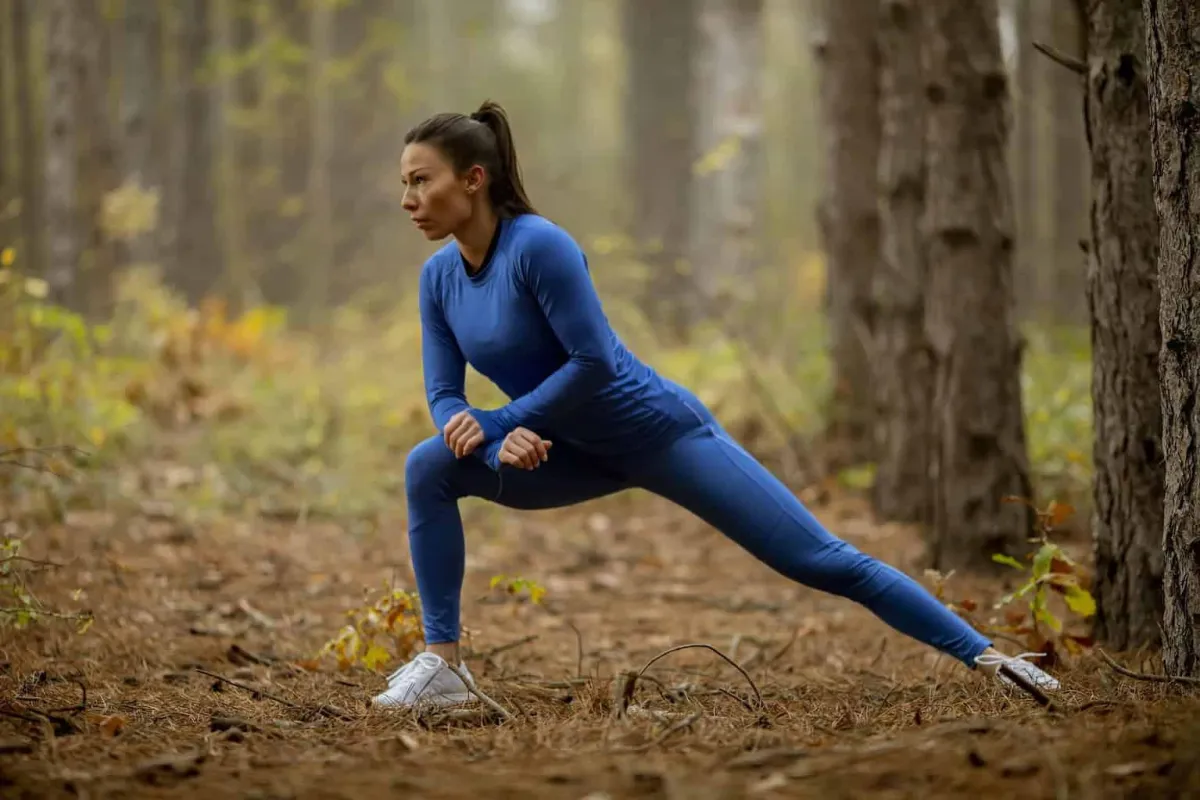
My Pre-Hiking Mobility Routine

If you want to get the best out of your hikes and remain pain and injury-free, then it’s a good idea to incorporate a pre-hiking mobility routine. It can seem like an effort, but the advantages become apparent for anyone who has started to get annoying niggles during or after their hikes.
In this article, I’ll go through my basic routine.
Why Do These Exercises?
If you’re like me and you love hiking, then you’re gonna want to remain pain-free. However modern lifestyles and lots of sitting often causes adaptations and weaknesses in our bodies which can sometimes lead to pain either during or after hiking.
Our bodies are also masters of compensation so where you feel the pain is often not where the problem is. For example, pain in the knees is often a result of something going on in the hips.
For this reason, it’s good to have a general mobility routine to make sure the body is a least in a slightly better state to go on a hike.
When To Do This Hiking Mobility Routine
When you do this routine highly depends on your situation, but the closer you do it to the start of your hike, the better. If you’re doing them at home and then sitting in the car to drive to your hike, then the benefits of them could be undone.
For the most part, I do these exercises at home before leaving the house and then repeat them to a lesser degree once I arrive at my hike start point.
The Mobility Exercises
These are the mobility exercises I do. It’s always better to start with the hips as most things start from there.
4-Sign
Leg-Press
Hip-Flexor
Shoulder Rolls
Hip Rolls
Foot Ball Rolls
These first three exercises are referred to as muscle energy techniques (METs) and are basically the opposite of stretching – the movement is bringing the two joins together instead of apart. Unlike stretching you often don’t feel anything while doing METs (sometimes a small vibration), plus to be effective they should only be done with 20% contraction force/effort.
1. 4-Sign Exercise

How To Do This Exercise
Sit on a chair and cross one ankle over the opposite knee as seen in the Image above. (Make sure the chair isn’t too low or high – the knee of your foot on the floor should be at 90 degrees).
Place one of your hands on top of the knee of your lifted leg.
Now rotate that leg into your hands so your ankle presses down into the knee of the opposite leg. The rotation should be from your hip (Think about your hip rather than your leg or knee. The hand is just there to block the rotation).
Press up using 20% of maximum effort from the hip – just enough to engage the muscles – THIS IS VERY IMPORTANT.
This is a static contraction, so make sure the leg does not move.
Then: Hold for 20 seconds and do 3-4 sets on each leg.
Things to note: The contraction comes from the hip. Don’t push down with the hand. Don’t rush or force more than 20% effort. If you need to work this out, go 100% then halve twice to 25%, and then go a tiny bit less.
Good for: Hip mobility and changing the way your whole body moves.
2. Leg Press Exercise

This is the same idea as the 4-sign exercise but for the leg extensors.
How To Do This Exercise
Sit on a chair and lift your knee slightly towards your chest so your foot is off the floor and the muscles to be released are longer but not stretched. Put both hands under the lower thigh as shown in the image.
Allow the weight of the leg to fall into your hands.
Then press your thigh down into your hands – as if you were going to put your foot back on the floor.
Press down with 20% of maximum effort, just enough to engage the muscles in the back of your hip.
Ensure that your knee isn’t extended (bent). Your shin should be vertical.
Then: hold for 20 seconds and do 3-4 sets on each leg.
Things to note: Watch out for the leg not being vertical – relax the knee to allow it to straighten up. Don’t rush or force more than 20% effort. If you need to work this out, go 100% then halve twice to 25%, and then go a tiny bit less.
Good for: Hip mobility and leg tension/tightness.
3. Hip Flexor Exercise
This again is the same idea as the two exercises above. You can do it standing sitting or lying. If you do it lying, you will be rotated by 90 degrees.

How To Do This Exercise
Sit on a chair (or stand) and raise one foot slightly off the floor.
Place a hand on the knee of that leg.
Then engage the hip flexor muscle to force your knee upwards into your hand with 20% of maximum effort.
The hand is just there to block the upward movement. It shouldn’t press down. The effect comes from contracting the hip flexors.
Then: hold for 20 seconds and do 3-4 sets on each leg.
Things to note: If you do this standing, you may need to hold onto something. Don’t rush or force more than 20% effort. If you need to work this out, go 100% then halve twice to 25%, and then go a tiny bit less.
Good for: Hip mobility and posture (even lower back pain).
4. Shoulder Rolls

How To Do This Exercise
Lay on your back with your knees bent, feet on the floor, and hip-width apart.
Interlock your fingers, straighten your arms push upwards as shown in the image.
Your thumb should be nose level and then you want to gently rotate your upper body from side to side.
Starting with a smaller range as you don’t want to force this movement.
Take your head with the arm line, so your eyes should remain fixed on your thumbs.
Your shoulders must come off the floor as the body rotates and your elbows must remain straight and wrists locked – always push up towards the ceiling as you roll.
Then: Repeat for 3 sets of 10 reps.
Things to note: Don’t force the range. Your body will allow you to move more as you gain flexibility. You can also do this standing with exactly the same instructions but instead force the hands forward.
Good for: Thoracic spine mobility.
5. Hip Rolls

How To Do This Exercise
Lay on your back with your knees bent and fixed together – imagine that they are taped and cannot come apart.
Take your arms out to the side for stability.
Keeping the shoulders and arms fixed to the ground, rotate your knees gently from side to side.
Start with a smaller range and don’t force the movement. You may notice one side goes further than the other.
Keep the outer edge of the bottom foot on the floor while the top foot will come away to stay fixed in place next to the bottom one.
Keep your knees locked together throughout.
Your hips should come off the floor as the body rotates.
Then: Repeat for 3 sets of 10 reps. Don’t force the range. Your body will allow you to move more as you gain flexibility.
Things to note: Don’t force the range. Your body will allow you to move more as you gain flexibility.
Good for: Lower spine mobility.
6. Foot Ball Rolls
Ball rolling on the underside of your feet is a great thing to do when you are experiencing stiffness. It helps loosen fascia and gives your foot a better range of flexibility. If you suffer from plantar fasciitis then this could help.
To do this exercise you will need a solid trigger point massage ball or a golf ball.
How To Do This Exercise
In a standing position (or sitting on a chair) place the ball under one of your feet.
Slowly roll the ball around and stop for a few seconds on more sensitive areas until they feel better.
Repeat the movement on the other foot.
How long? Do this for 1-2 minutes on each foot or as you feel necessary.
Video Run-Through Of The Exercises
Here is a quick run-through of all the exercises I do in a video:
Summary
This list of exercises is not extensive, but it’s designed to be quick and easy to do. You can do them at home, sitting down in the car or standing before you start your hike. Ideally, you’d sit on a bench and do them straight before setting off if that is possible.
If you’d like to ask me any questions about these exercises, feel free to contact me here.
